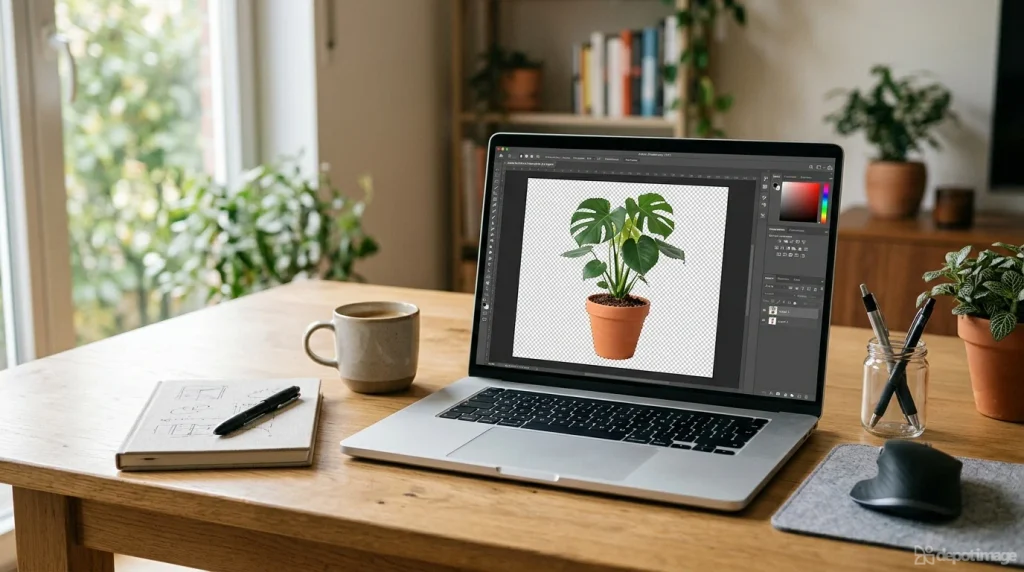
You have a great photo of a product, a plant, or a person, but the messy background ruins it. Maybe you need the subject on a clean white page for an online store. Maybe you want to drop it onto a YouTube thumbnail, a poster, or a presentation slide. Either way, the fix is the same: remove the background and keep only the subject.
A few years ago that meant hours of careful tracing in Photoshop. Today you can do it in seconds on your phone, inside software you may already own, or with free tools in your browser. This guide walks through seven methods, from the fastest one-click options to precise manual editing, and shows how to get clean edges instead of a rough, jagged cutout.
What Does “Removing a Background” Actually Mean?
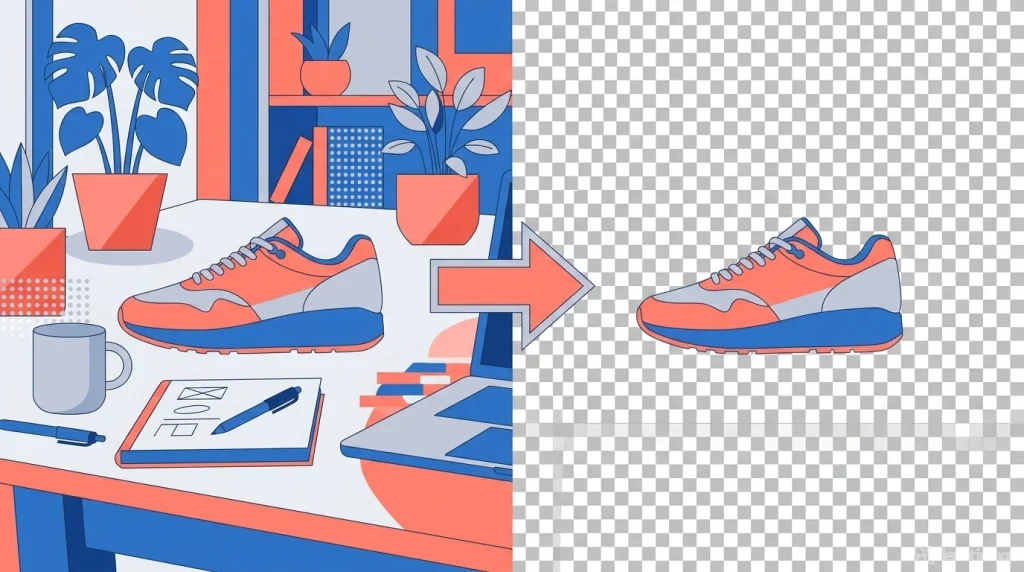
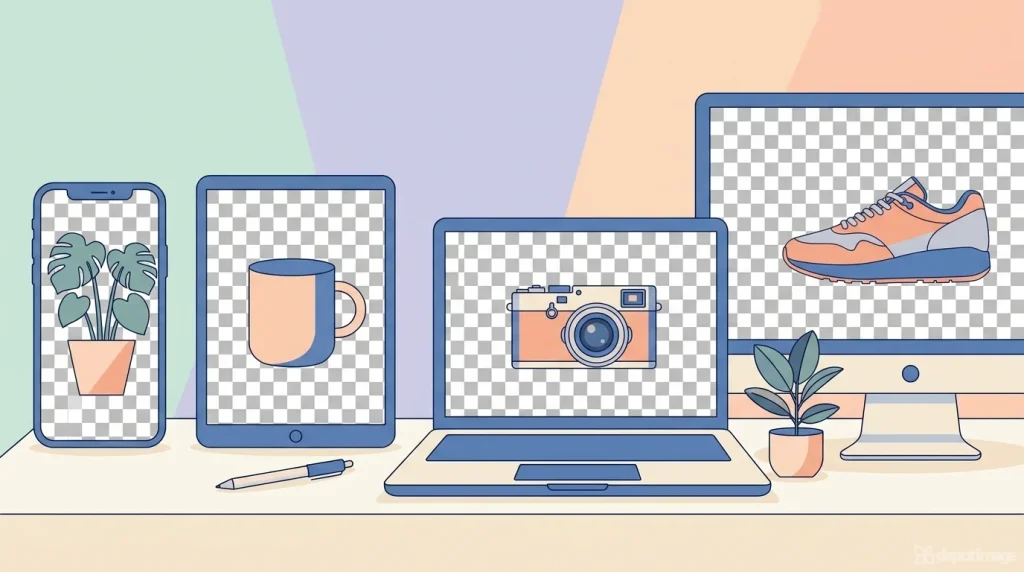
When you remove a background, you are not painting it white. You are making those pixels transparent, so whatever sits behind the image shows through: a colored slide, a website, another photo, or nothing at all.
Software stores this transparency in an extra layer of data called the alpha channel. Only some file formats can hold it, and that matters for the next step.
Save in the Right Format First
The most common beginner mistake is doing all the work correctly and then exporting a JPG. JPG has no transparency, so the empty area turns back into a solid white or black block.
| Format | Supports transparency | Best used for |
|---|---|---|
| PNG | Yes | Cutouts, logos, graphics, anything that needs a clean edge |
| WebP | Yes | Web use, smaller files than PNG |
| AVIF | Yes | Web use, very small files, but not supported everywhere |
| GIF | Only on/off, no soft edges | Simple animations |
| JPG | No | Regular photos with a background |
Rule of thumb: export your finished cutout as PNG. Keep a WebP copy only if you want a lighter file for your website.
Method 1: Use a Free Online AI Background Remover
Best for: beginners who want a result in under a minute.
AI tools detect the main subject automatically. Well-known examples include Adobe Express, Canva, remove.bg, and Photoroom, and several others work the same way.
- Open the tool in your browser and upload your image.
- Wait a few seconds while the tool detects the subject and erases the background.
- If a spot was missed, use the “restore” or “erase” brush to fix it.
- Download the result as a PNG.
Watch out for: free plans often limit the download resolution, the number of daily uploads, or the built-in remover itself. These rules change often, so check the current limits before you commit to one tool.
Method 2: Use PowerPoint or Word (You May Already Own It)
Best for: people who already use Microsoft Office and want zero new software.
- Insert your picture into a slide or document.
- Click the picture, then open the Picture Format tab.
- Choose Remove Background. The parts to be deleted turn magenta.
- Use Mark Areas to Keep and Mark Areas to Remove to correct mistakes.
- Click Keep Changes.
- Right-click the picture and choose Save as Picture, then pick PNG.
It is not as precise as dedicated tools, but it handles simple objects on plain backgrounds very well.
Method 3: Use Windows Paint
Best for: quick cutouts on a Windows 11 PC with no downloads.
- Open your image in Paint.
- Click the Remove background button in the toolbar. To cut out only part of the image, select that area first.
- Check the result, then go to File > Save as > PNG picture.
Menu names can differ slightly between Windows versions, and older versions of Paint do not include this feature.
Method 4: Use Your iPhone, iPad, or Mac
Best for: Apple users who want the fastest possible route.
On iPhone or iPad (iOS 16 or later):
- Open the photo in the Photos app.
- Touch and hold the subject until a glowing outline appears.
- Tap Copy or Share, then paste or save the cutout where you need it, for example in Notes, Messages, or a design app.
On Mac (macOS Sonoma or later):
- Right-click the image in Finder and open Quick Actions, then choose Remove Background.
- Or open the image in Preview and use the Remove Background option in the markup tools.
The results are excellent for clear subjects like people, pets, and products photographed on a contrasting surface.
Method 5: Use Photopea (Free Editor in Your Browser)
Best for: people who want Photoshop-style control without paying for it.
- Open Photopea in your browser and load your image.
- Choose the Magic Wand or Quick Selection tool and click the background. Hold Shift to add more areas.
- Refine the selection if needed, using Select > Refine Edge or by adding and subtracting areas.
- Press Delete to erase the background. If you need the subject instead, invert the selection first.
- Go to File > Export as > PNG.
Photopea is free with ads, and its layout will feel familiar if you have ever used Photoshop.
Method 6: Use GIMP (Free, Open-Source Software)
Best for: desktop users who want full control at no cost.
- Open your image in GIMP.
- Right-click the layer and choose Add Alpha Channel. Without this step, deleted areas turn into a solid color.
- Use the Fuzzy Select tool for solid backgrounds, or Foreground Select for more complex subjects.
- Press Delete to clear the background.
- Go to File > Export As and save as PNG.
GIMP has a learning curve, but it rewards patience with very accurate results.
Method 7: Use Adobe Photoshop
Best for: professionals and difficult images like hair, fur, or fine details.
- Open the image and select the layer.
- In the Properties panel, click Remove Background under Quick Actions.
- For more control, use Select Subject, then click Add Layer Mask so the edit stays reversible.
- Refine the edges with the brush on the mask.
- Export as PNG.
Photoshop is a paid product, but its masking tools remain the most flexible option for demanding work.
Which Method Should You Choose?
| Method | Cost | Skill level | Best for |
|---|---|---|---|
| Online AI remover | Free, with limits | Beginner | Fast results, product photos |
| PowerPoint / Word | Included with Office | Beginner | Simple objects, presentations |
| Windows Paint | Built into Windows 11 | Beginner | Quick edits on PC |
| iPhone / Mac | Built in | Beginner | Clear subjects, on-the-go work |
| Photopea | Free, with ads | Intermediate | Manual control in the browser |
| GIMP | Free | Intermediate | Detailed desktop editing |
| Photoshop | Paid | Advanced | Hair, fur, professional work |
If you are unsure, start with Method 1 or your phone. Move to Photopea, GIMP, or Photoshop only when the automatic result is not good enough.
How to Get Cleaner Edges Every Time
Most bad cutouts come from the source photo, not the tool. These habits make a big difference.
Start with a good photo. A high-resolution image with sharp focus gives the software more detail to work with. Blurry or tiny images produce fuzzy edges no matter which method you use.
Choose contrast. A dark subject on a light background, or the reverse, is much easier to separate than a subject that blends into its surroundings, like a green plant against green leaves.
Use even lighting. Harsh shadows and glare confuse automatic detection. Soft daylight or a shaded spot works best.
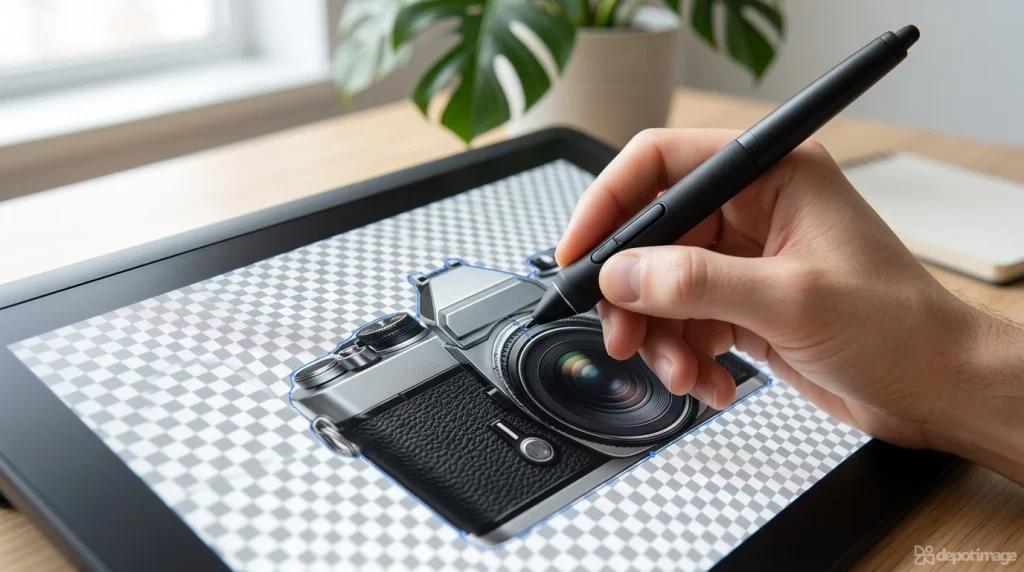
Zoom in before you finish. Inspect the edges at 200 percent or more. Look for leftover background fragments and small holes inside the subject.
Test on a dark and a light background. Place your cutout over both. A faint white or colored outline, often called a halo, is easy to miss on one color but obvious on the other.
Soften the edge slightly. A feather or smoothing setting of one or two pixels blends the subject naturally into its new background instead of leaving a harsh, cut-out look.
Keep the original file. Save your cutout under a new name, or use masks and layers so you can always go back and fix mistakes.
Common Problems and How to Fix Them
| Problem | Likely cause | Fix |
|---|---|---|
| White or colored outline around the subject | Leftover background pixels blended into the edge | Shrink the selection by 1 to 2 px, or use a “defringe” or “decontaminate colors” option |
| Jagged, staircase-like edges | Low-resolution image or a hard selection | Use a larger source image and add slight feathering |
| Missing pieces of the subject | Automatic tool mistook parts of the subject for background | Use the restore brush, or “Mark Areas to Keep” in PowerPoint |
| Transparent areas turn white after saving | Exported as JPG | Export as PNG or WebP instead |
| Hair or fur looks chopped | Fine detail is hard to isolate | Use a mask with a soft brush, or a tool with hair refinement |
| Glass or transparent objects look wrong | Real transparency mixes with the background | Rebuild the effect with a reduced opacity layer, or choose a simpler photo |
What Can You Do With a Transparent PNG?
Once the background is gone, the image becomes flexible.
- Online store listings: place products on a clean white or branded background.
- YouTube thumbnails and social posts: layer a subject over bold colors or text.
- Presentations and documents: drop objects onto any slide without ugly boxes around them.
- Posters, flyers, and invitations: combine several cutouts into one design.
- Mockups and collages: mix objects from different photos into a new scene.
- Websites and blogs: add graphics that blend with your page color, including dark mode.
If you would rather skip the editing, you can browse ready-made transparent PNG images in our collection at [depotimage.com]. (Link to your PNG category page here.) Always read the usage terms shown on each image page before you download.
A Quick Note on Image Rights
Removing a background is an edit. It does not change who owns the image or what the license allows. If a photo comes with a “no modifications” rule, cutting out the subject may break it. Before you edit someone else’s picture, check its license. Our guide to [free image licenses explained] covers the terms you will run into most often. (Link to your earlier article here.)
Frequently Asked Questions
What is the easiest way to remove a background for free?
An online AI background remover, or the built-in tool on your phone or computer. Both usually take under a minute and need no editing skills.
Do I need Photoshop to remove a background?
No. Free options like Photopea, GIMP, PowerPoint, Windows Paint, and online AI tools cover most everyday needs. Photoshop mainly helps with very fine details.
Which file format keeps the background transparent?
PNG is the standard choice. WebP and AVIF also support transparency and can produce smaller files for websites. JPG cannot store transparency.
Why is there a white line around my cutout?
This halo comes from background pixels mixed into the edge of the subject. Shrink the selection slightly or use a defringe option to remove it.
Can I remove a background on my phone?
Yes. iPhones can lift a subject straight from the Photos app, and many free apps and websites offer background removal for Android and iOS.
Will removing the background reduce image quality?
Not if you work from a high-resolution original and export as PNG. Quality drops mainly when the source is small, heavily compressed, or saved repeatedly as JPG.
Can I sell or publish an image after removing its background?
That depends on the original license, not on the edit. Confirm that the image allows modification and the kind of use you have in mind.
Final Thoughts
Removing a background no longer requires expensive software or design training. For a quick job, an AI tool or your phone will do the work in seconds. When you need more control, Photopea, GIMP, or Photoshop let you refine every edge. Start with a sharp, high-contrast photo, check your edges on both light and dark backgrounds, and always save the final result as a PNG. Those three habits alone will make your cutouts look professional.
Tool features, menus, and free-plan limits change over time. Check the current version of any tool before you rely on a specific step.